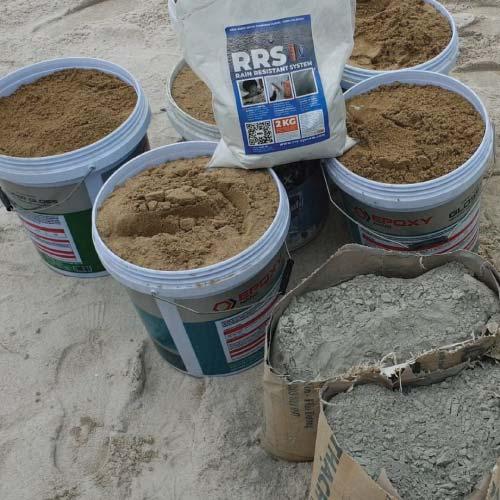
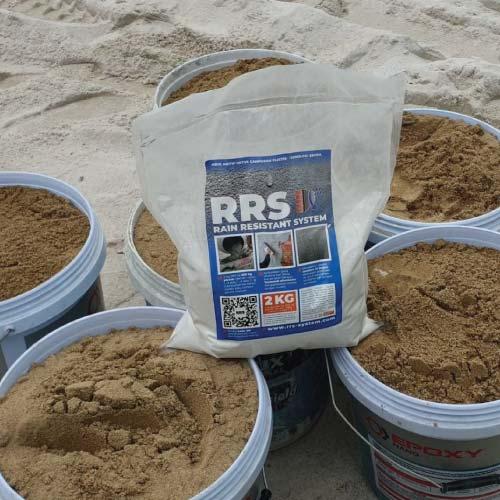
Rain resistant system
Transform your plaster and screed into functional solution.
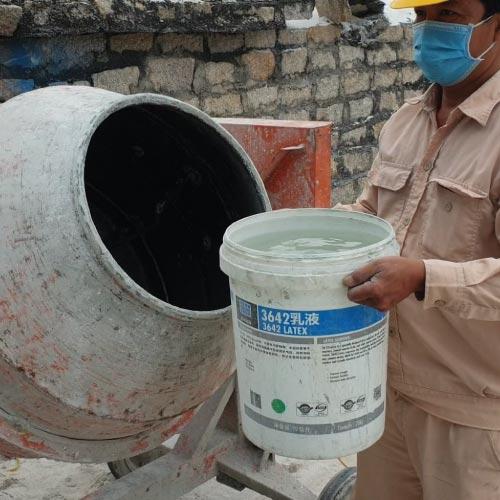
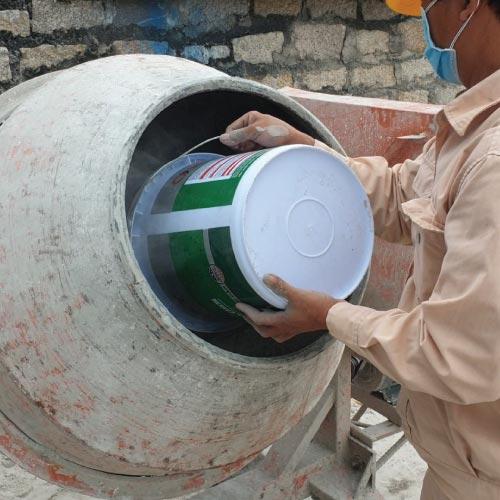
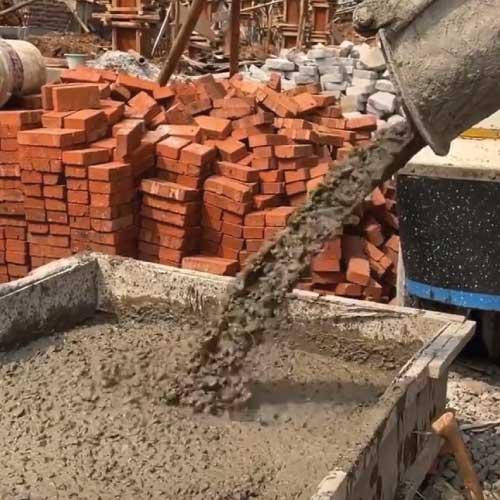
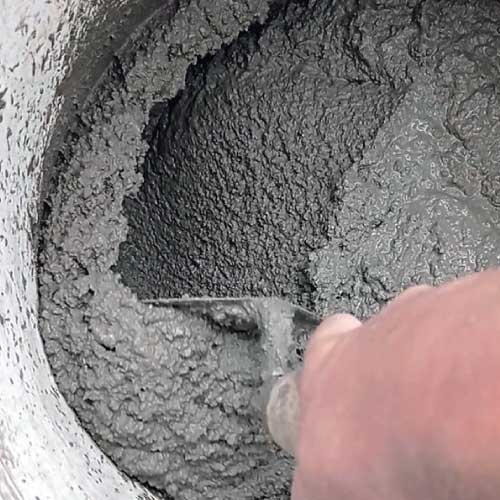
Mixing

Exterior wall
2 kg RRS + 200 kg plaster

Interior wall
2 kg RRS + 50 kg plaster

Bathroom
2 kg RRS + 50 kg screed

Roof, gutter
2 kg RRS + 50 kg screed
Exterior wall:
2 kg RRS + 200 kg plaster
40 kg cement + 160 kg sand (1:4)
Interior wall:
2 kg RRS + 50 kg plaster
10 kg cement + 40 kg sand (1:4)
Bathroom:
2 kg RRS + 50 kg screed
10 kg cement + 40 kg sand (1:4)
Roof, gutter:
2 kg RRS + 50 kg screed
10 kg cement + 40 kg sand (1:4)
Exterior wall:
2 kg RRS + 200 kg plaster
50 kg cement + 150 kg sand
Interior wall:
2 kg RRS + 50 kg plaster
12.5 kg cement + 37.5 kg sand
Bathroom:
2 kg RRS + 50 kg screed
12.5 kg cement + 37.5 kg sand
Roof, gutter:
2 kg RRS + 50 kg screed
12.5 kg cement + 37.5 kg sand
If the weight of plaster is more than 200 kg (external wall), additional 2 kg RRS is added.
2 kg RRS + 50 kg plaster can be changed to 4 x 2 kg RRS + 200 kg plaster.
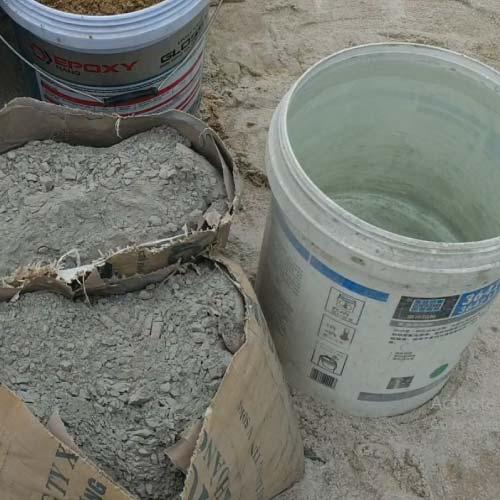
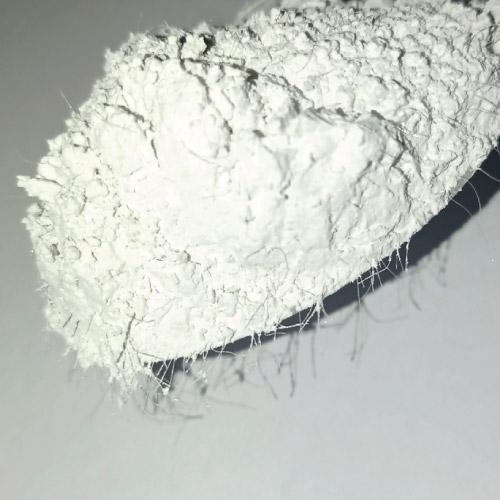
Cement: standard OPC / PCC / PCB cement is suitable. Cement must be fresh, without lumps.
Sand: standard construction sand is suitable. Sea sand is not suitable. Before mixing, sand needs to be screened to remove stones and other debris.
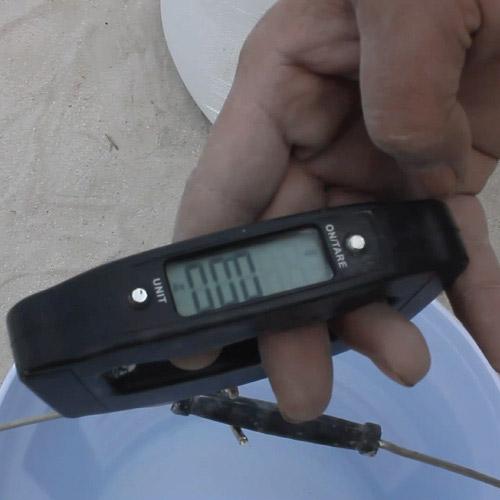
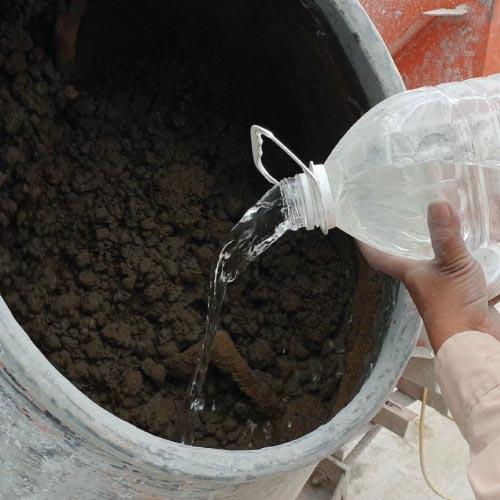
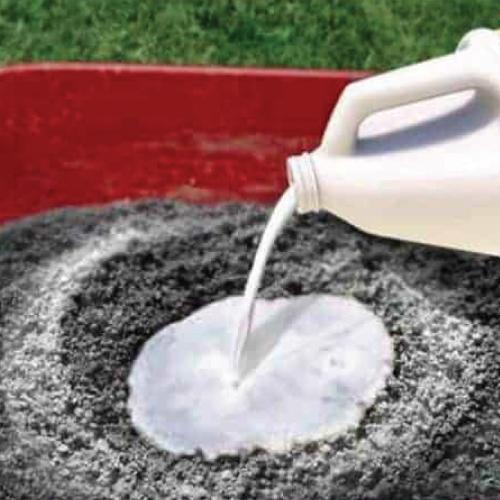
Water: Amount of water to mix with each formula can vary and is mostly determined by moisture content of the sand. It is better to start mixing with less water and add more gradually.
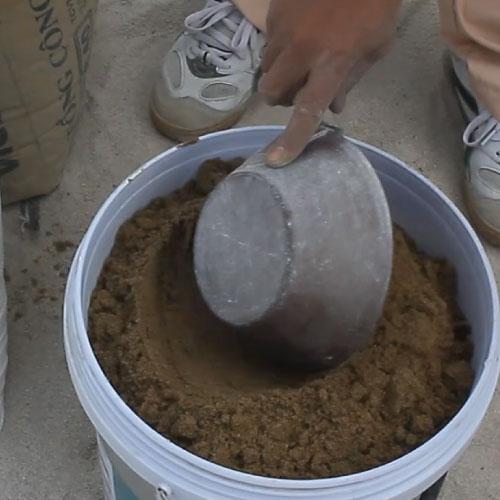
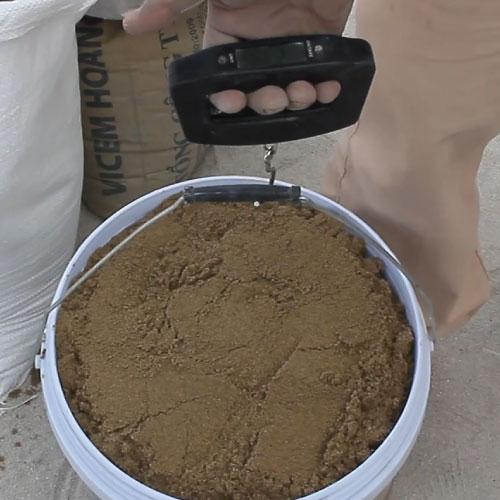
It is ideal to measure quantity of sand (and cement if less than 1 cement bag is needed) with scales. Plastic pail can be used as measurement unit. Number of sand pails = total weight of sand in formula / weight of 1 sand pail.
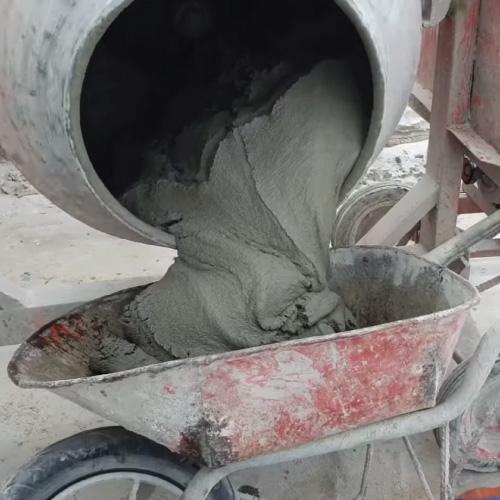
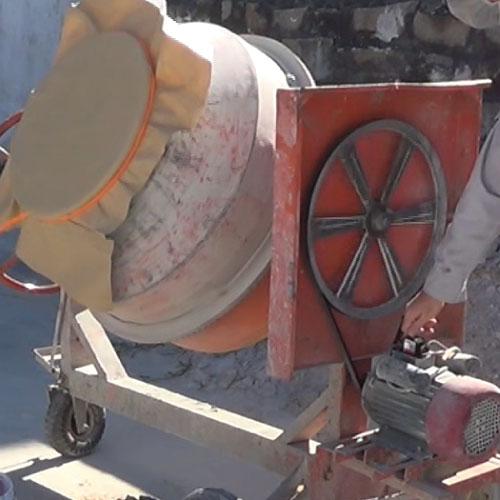
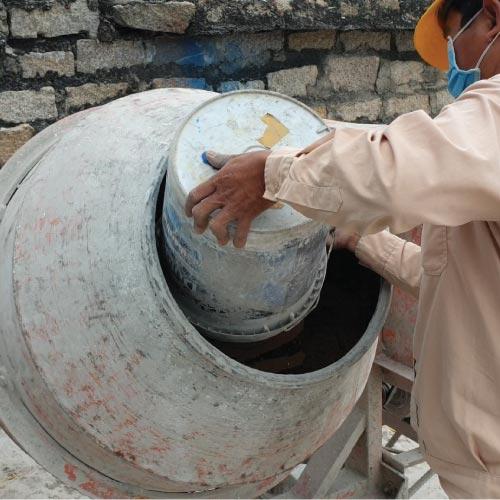
Gravity mixer: mixing 200 kg formula, ideal for bigger volumes
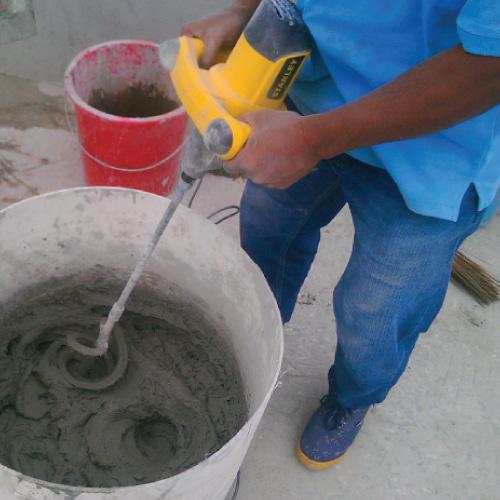
Hand mixer: mixing 50 kg formula, ideal for smaller volumes
Manual mixing: if mixer not available, not ideal method

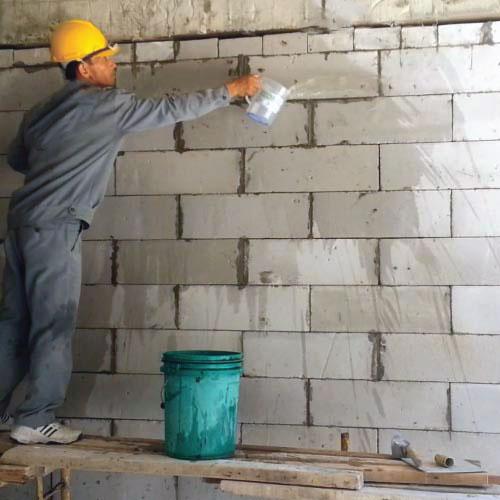
1) Add water first (maximum 20 liters in the beginning)
2) Add RRS
3) Add cement
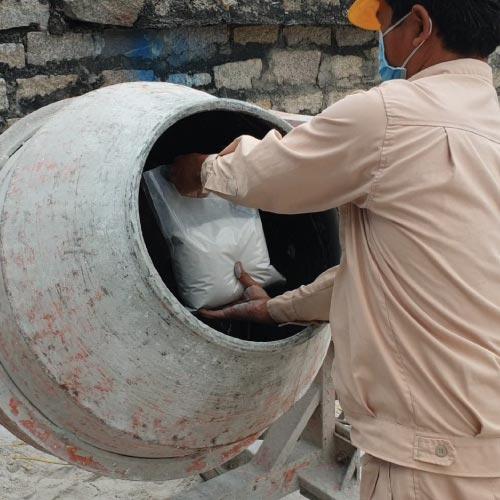
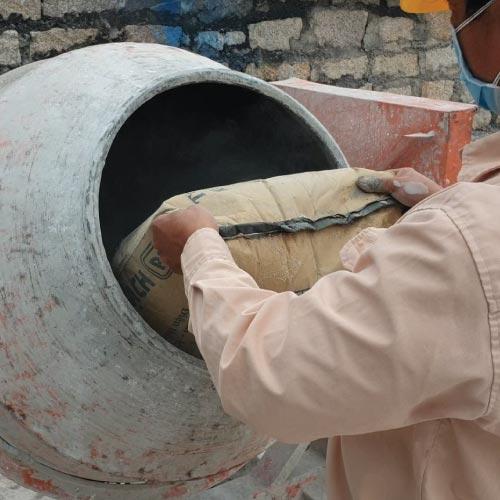
4) Add one pail of sand (1/5 or 1/6 of total sand volume)
5) Start mixing (you can cover the mixer to prevent dust coming out)
6) Mix until it becomes slurry
7) Add remaining pails of sand and continue mixing
8) Watch consistency and slowly add more water if needed
9) When plaster has perfect consistency, keep mixing for few more minutes
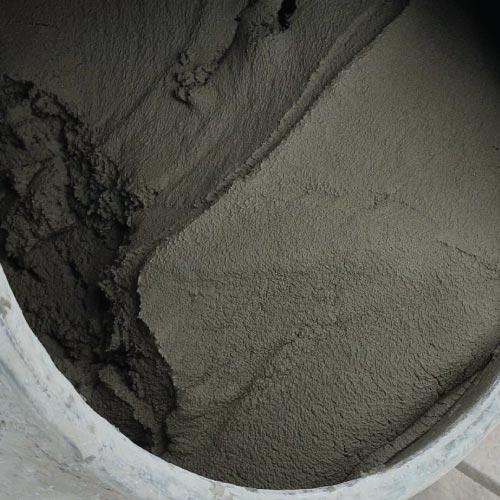
10) Total mixing time is at least 10 minutes
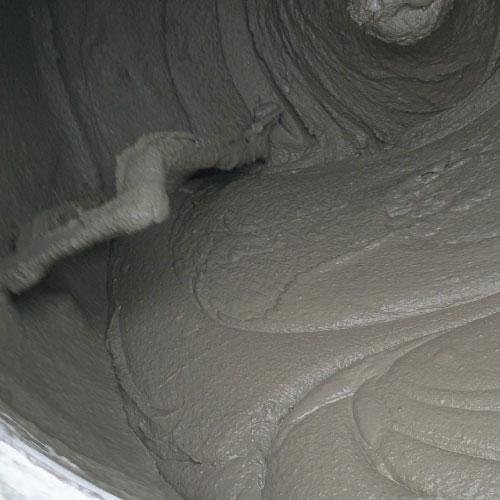
Freshly mixed RRS plaster must have a smooth and consistent texture and should be used within 3 hours (covered to protect from direct sun). A small amount of water can be added to remix the plaster if needed.
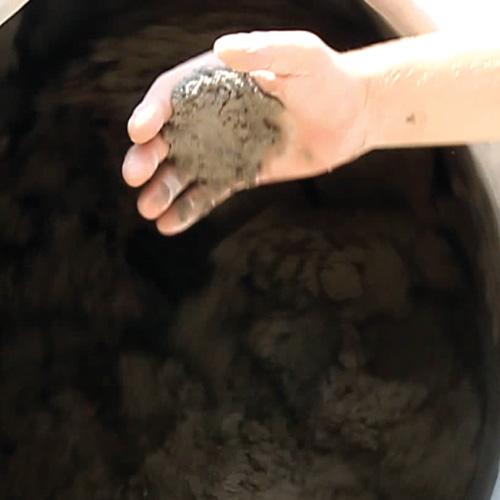
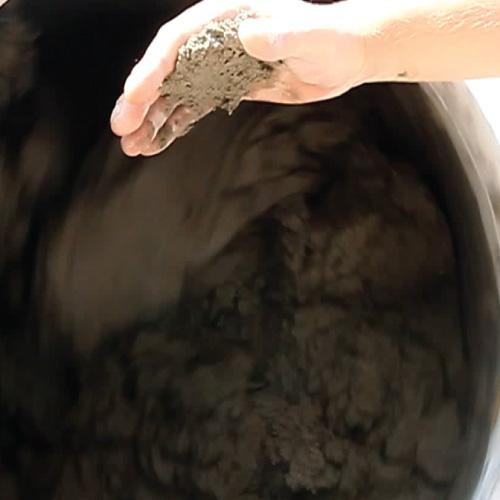
A simple test can be done to check the correct consistency: take a handful of RRS plaster and throw it into the palm of your hand. Turn your hand down so the palm is facing the ground. If RRS plaster falls down, it is too dry. If it drips, it is too wet. If it sticks well, it has ideal consistency.

- Do not use RRS as admixture for structural concrete.
- Do not use RRS in combination with chemical admixtures for plaster.
- Do not use sea sand with RRS plaster.
- Do not mix RRS only with cement to smooth the surface of plaster.
- Do not mix RRS with instant products such as plaster, render, skim coat etc.
- Instant products contain synthetic polymers (RDP) incompatible with RRS.

Substrate

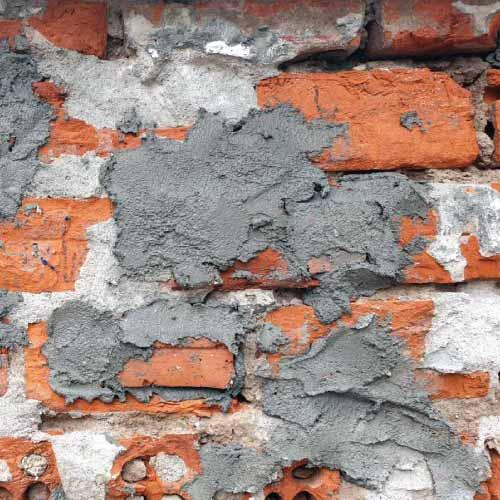
Brick

Concrete block

AAC or LCL block

Concrete slab
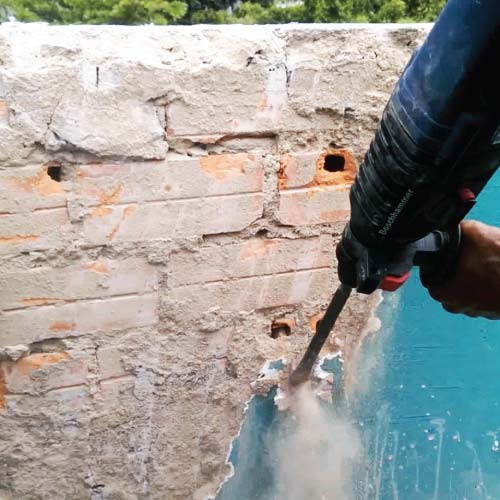
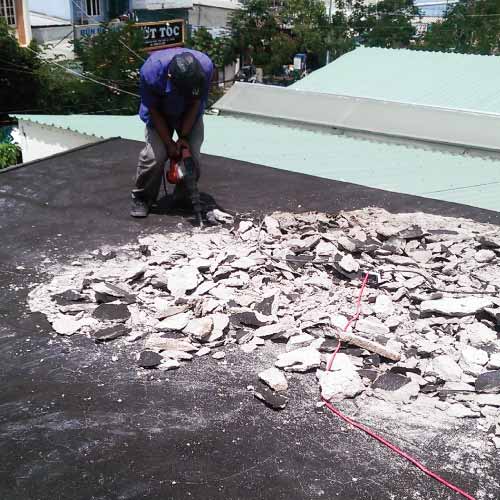
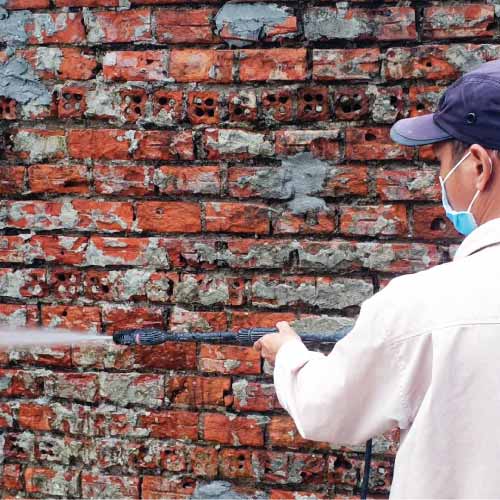
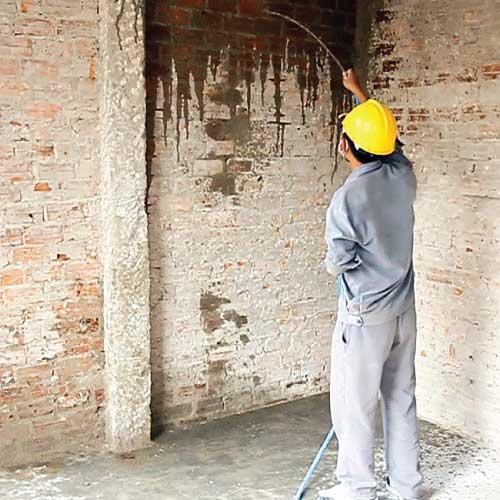
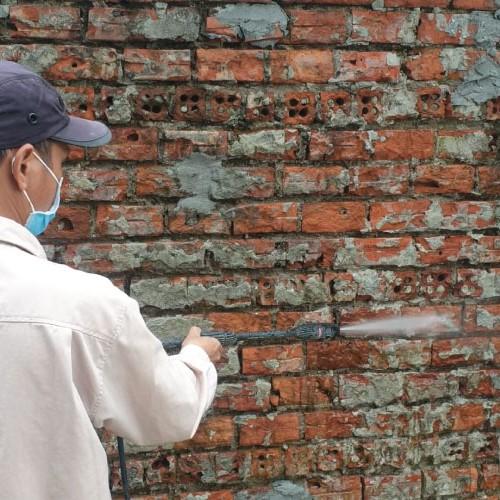
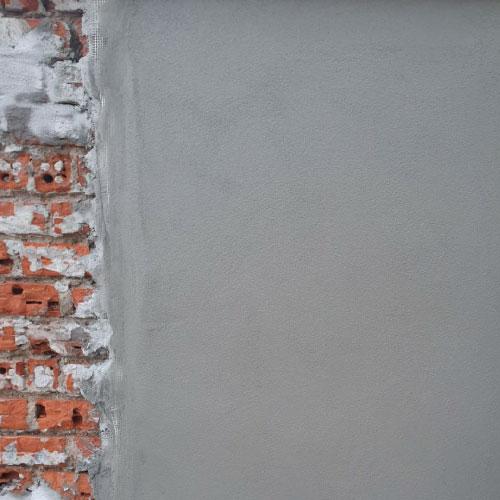
When renovating an existing building, all existing layers (paint, skim coat, plaster, tiles, etc.) must be removed until bare bricks or bare concrete. RRS plaster and screed should not be applied over existing layers. After removing all existing layers, the ideal way to clean the surface is with water jet.
The substrate must be solid without any free parts. It must not be greasy, acidic, water-repellent, or have an alcoholic base. If there are holes in the substrate bigger than 1 cm, they should be patched with normal plaster in advance (at least 1 day) before the application of RRS plaster.

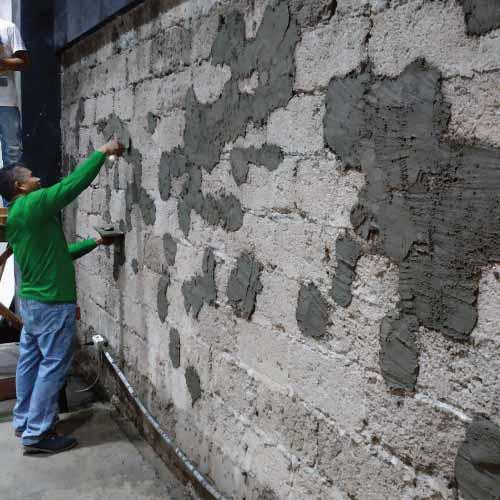
Before application of RRS plaster on an AAC block wall, we recommend applying a layer of spritz (a thin mixture of cement, sand and water) first in a thickness of a few mm. After the layer of spritz is partially hardened (2–3 hours depending on weather conditions), wet the surface of spritz and apply RRS plaster.
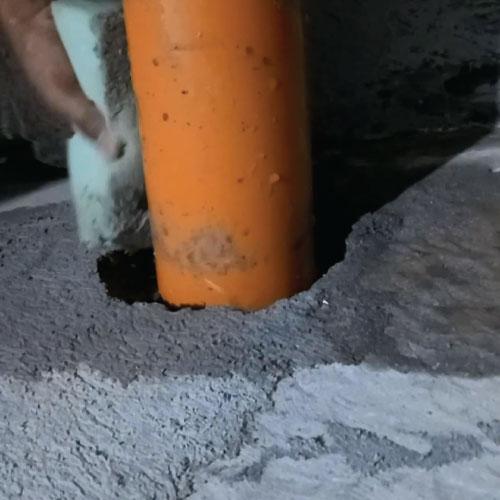
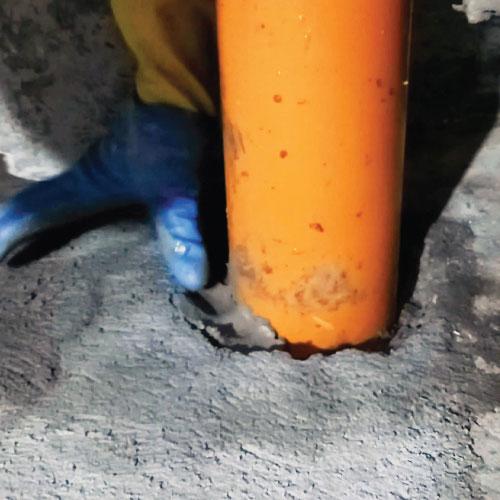
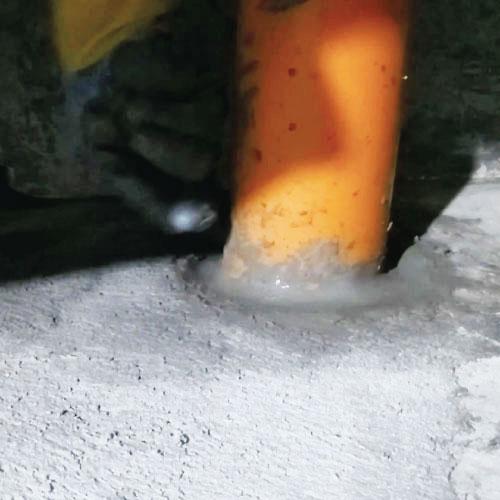
Before applying RRS screed in a bathroom or on a roof, plastic pipes need to be insulated. This is due to the inability of the screed to perfectly connect to the plastic pipe surface. Screed can shrink during curing process and a tiny gap between the screed and pipe can occur.
The insulating method is simple. This should be done at least 1 day before the application of the RRS screed. The concrete around the pipe is removed, 2 cm deep and 2 cm wide. The hole around the pipe is cleaned with water. A cement-based material suitable for pipe sealing purposes is used (for example, fast-setting plug, special grout, etc.). The hole is filled with material and finished level with the concrete surface.
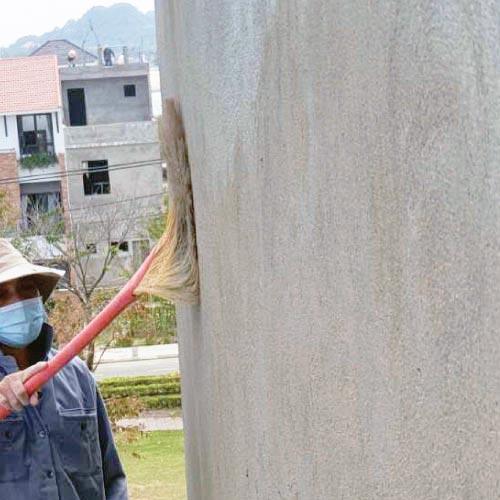
Very important! Substrate must always be wetted with water before application of RRS plaster and screed. Never apply RRS plaster and screed on a dry substrate. If the weather is too hot and the substrate is drying immediately, keep wetting the substrate several times until it is soaked with water.

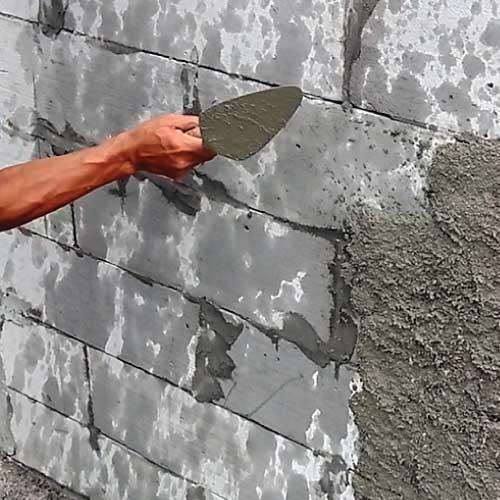
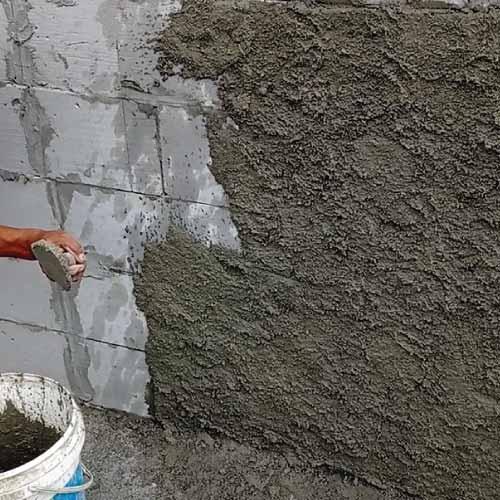
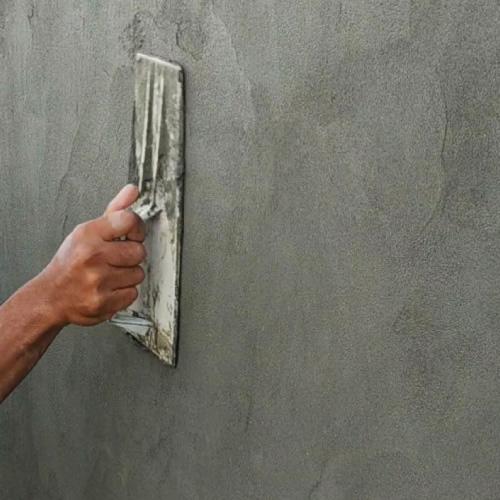
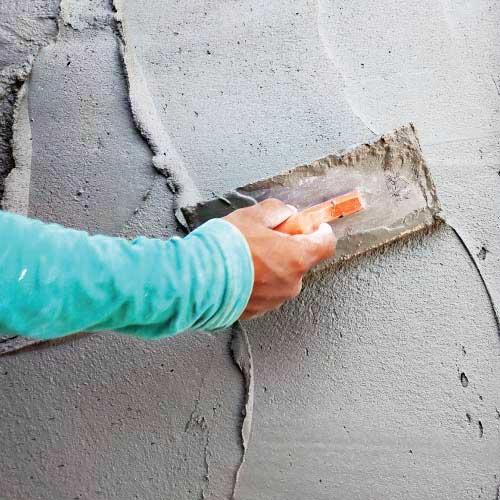
Application
Wetting
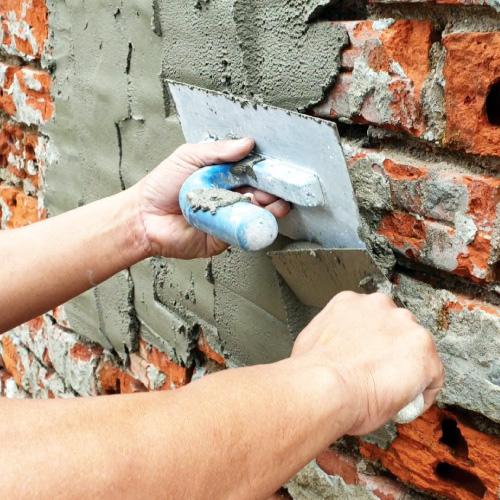
Applying
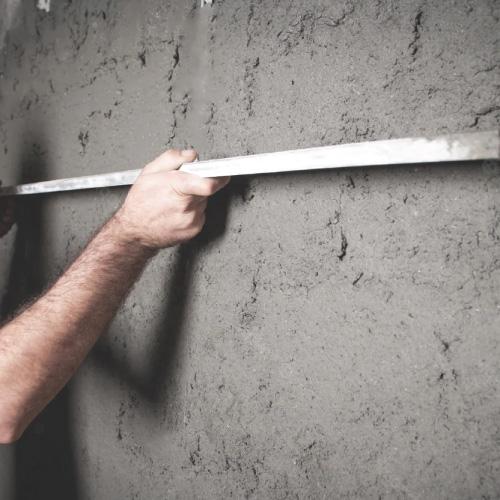
Levelling
Finishing
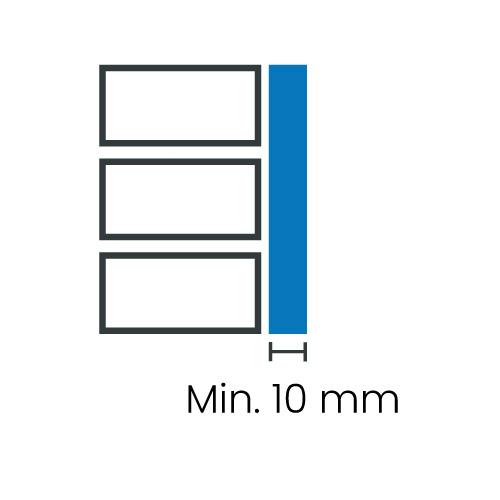
Minimum thickness on wall: 10 mm
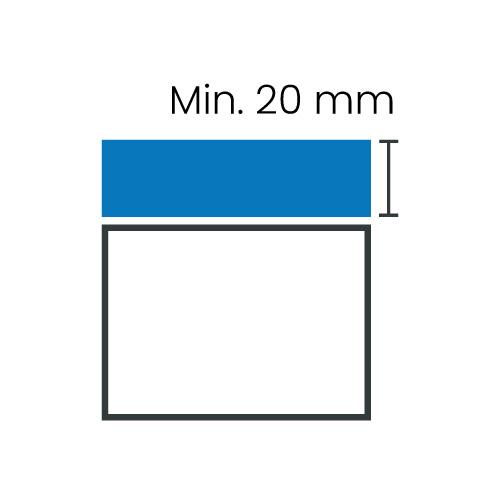
Minimum thickness on floor: 20 mm
Maximum thickness in one layer on wall: 20 mm
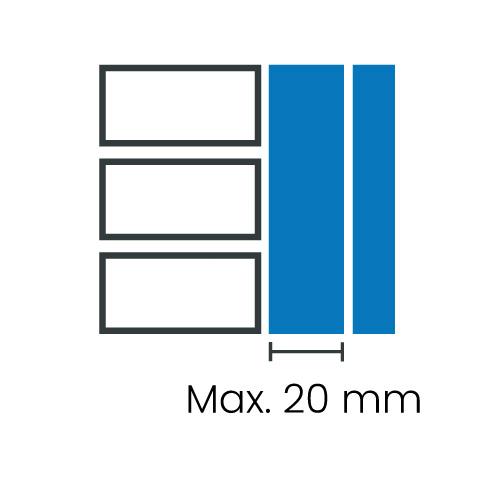
If more than 20 mm of thickness on wall is needed, 2 layers are applied. A first layer of a maximum 20 mm thickness is applied. The first layer is not smooth-finished (ideally finished with a comb trowel to create horizontal lines). The second layer is applied when the first layer has hardened (ideally after 24 hours).
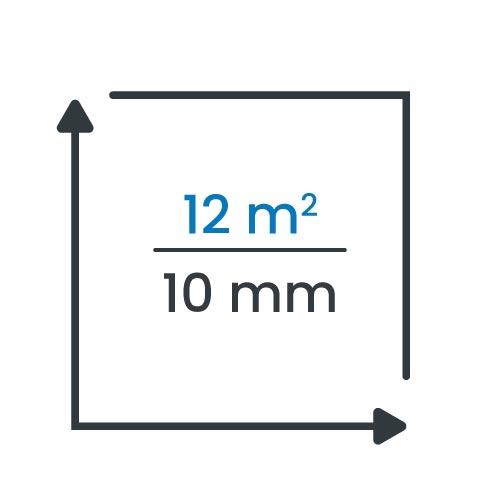
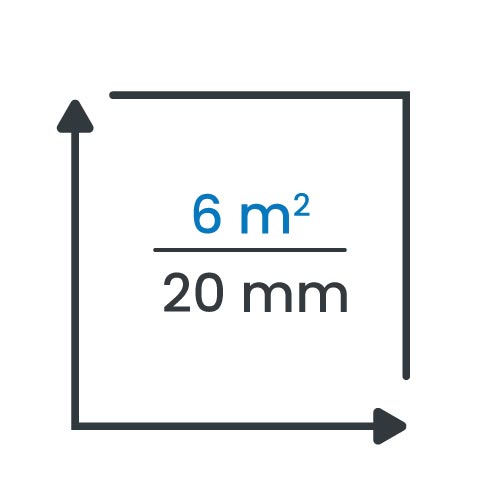
2 kg RRS + 200 kg plaster (exterior wall):
10 mm thickness = 12 m2
15 mm thickness = 9 m2
20 mm thickness = 6 m2

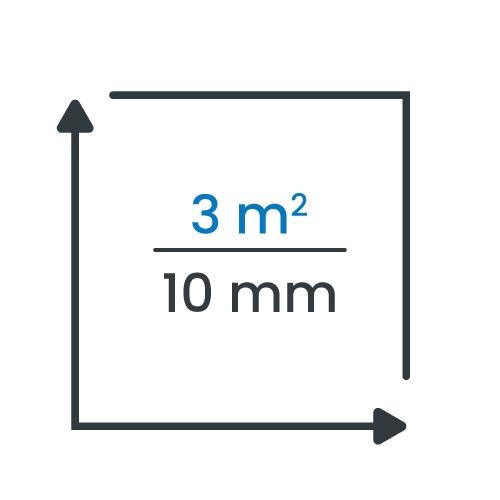
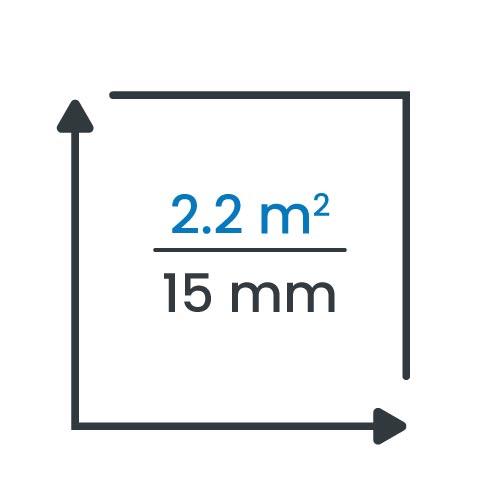
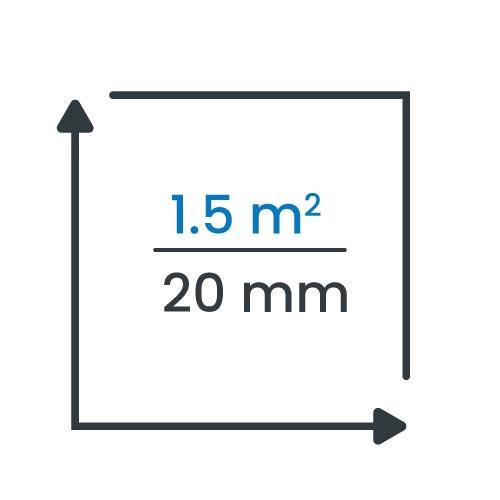
2 kg RRS + 50 kg plaster or screed (interior wall, bathroom, roof, gutter):
10 mm thickness = 3 m2
15 mm thickness = 2.2 m2
20 mm thickness = 1.5 m2
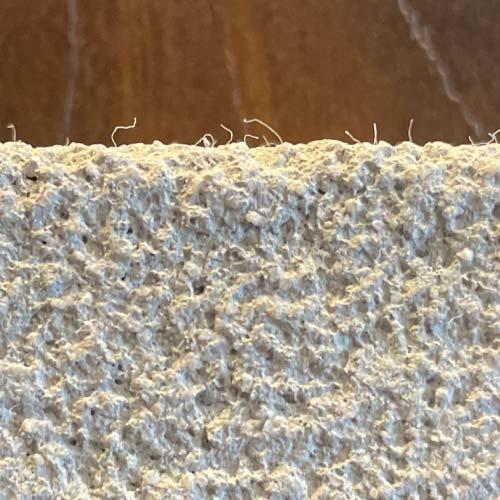
RRS powder contains polypropylene (PP) fibers which reinforce RRS plaster and screed and reduce hairline crack formation. However, sometimes hairline cracks may appear as plaster and screed are solid materials.
The possibility of hairline cracks can be further reduced by using plaster formula with a cement to sand ratio of 1:4 instead of 1:3, properly wetting the substrate, not applying more than 20 mm of thickness at once, and not applying RRS plaster in direct sunlight.
Hairline cracks are usually a few mm deep (for example, 2-4 mm). This does not affect the functionality of RRS plaster if the thickness of RRS plaster is 10–20 mm. The depth of a hairline crack can be checked by scratching with a screwdriver and cleaning with water. To prevent hairline cracks completely, we recommend using fiberglass mesh.
Specification: 5 mm x 5 mm (size), 145 g/m2 (weight). Fiberglass mesh needs to be applied near to the final surface of plaster.
The way to use fiberglass mesh with RRS plaster (wall) is a fresh-to-fresh system. If the total thickness of plaster is, for example, 20 mm (100%), first a layer of 15–16 mm (75–80%) is applied and leveled, fiberglass mesh is gently pushed into the fresh layer, and a second layer of 4-5 mm (20–25%) is applied on top of the fiberglass mesh, and plaster is finished normally.
The way to use fiberglass mesh with RRS screed (roof, bathroom) is to apply the screed in full thickness (20 mm) and gently push the fiberglass mesh into the fresh layer, then use the trowel to hide the mesh and level the surface at the same time.
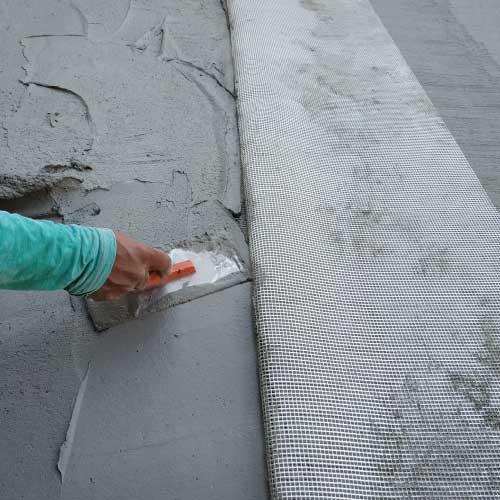

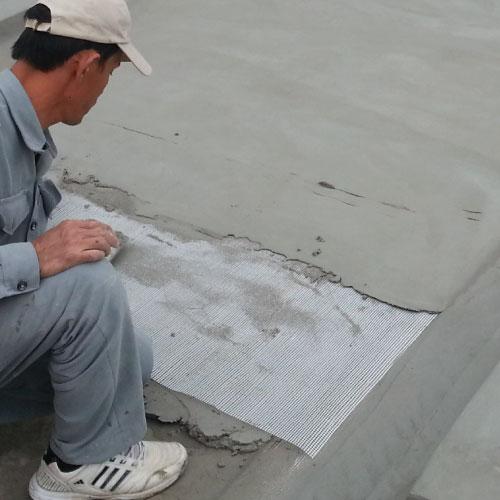
Fiberglass mesh usually comes in rolls (1 m x 50 m). During application, individual strips of fiberglass mesh should always overlap by 10 cm. Fiberglass mesh must be continuous in the corners (connection between wall and floor).
Fiberglass mesh can not prevent cracks in RRS plaster or RRS screed caused by structural cracks in the substrate.
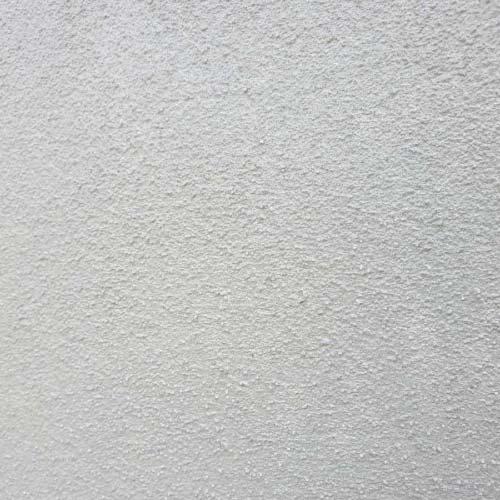
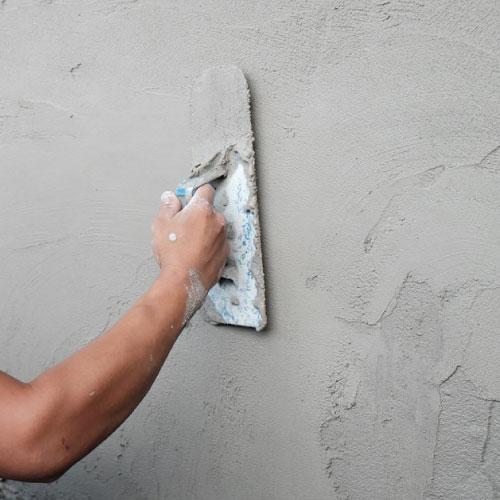
Wall: Standard surface finishing methods used for plastering can be used for RRS plaster. To achieve a uniform structure of the surface, a wet sponge can be used to finish partially hardened RRS plaster.

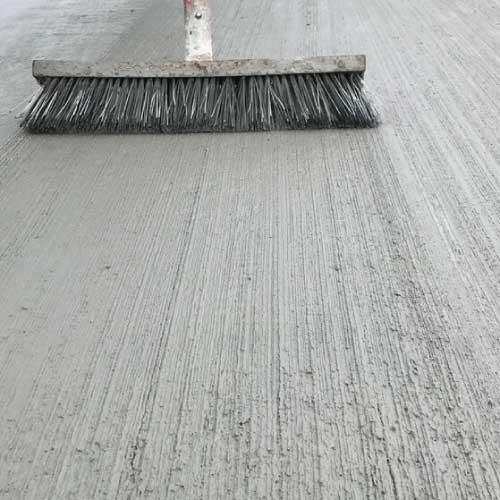
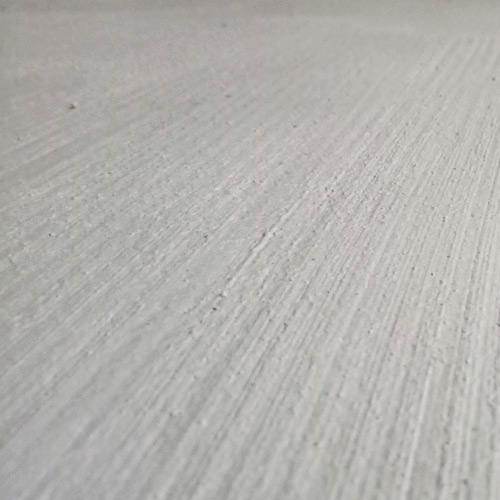
Floor: A soft plastic broom can be used to finish the surface of RRS screed. The broom finish leaves soft, uniform lines on the surface. The surface can be exposed to foot traffic (roof) or tiles can be applied on the surface with tile adhesive (bathroom).
RRS plaster may remain exposed without an additional skim coat, paint, or waterproof membrane. If RRS plaster needs to be painted, it is recommended to let it cure for a minimum of 2 weeks before painting.
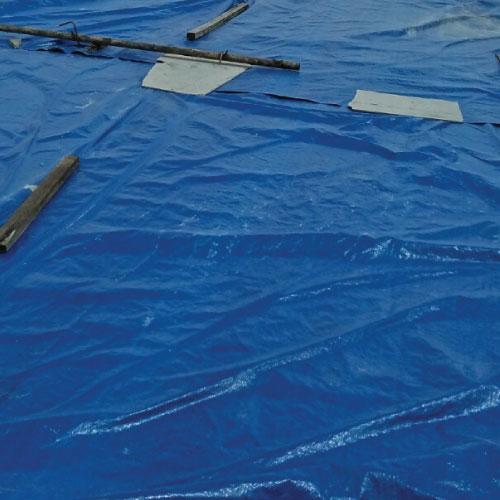
If tiles need to be installed on top of RRS plaster or RRS screed, it is recommended to let it cure for a minimum of 2 weeks before proceeding with the installation of tiles. For RRS screed applied outside (roof deck, gutter), it needs to be covered with tarpaulin (plastic sheet) for 7 days for curing purposes.